I'm not the type of girl who likes modern, fitted kitchens. When we first moved in, the kitchen hadn't been updated for decades. It had bright yellow melamine worktops and base cupboards with plain, wood-effect melamine doors. The only wall cupboards were a trio above the sink. All the woodwork was yellowed, white gloss.The blue carpet was nasty and full of grease in the cooker area. Even I couldn't live with the kitchen as it was. I wasn't really sure what to do with it, but I knew I needed to rid myself of the carpet and replace the worktops. The old, leaded light window had a blue, stained glass cross in the centre. I don't really like the colour blue, but the cross rather dictated the use of it.
The carpet was ripped up and replaced with vinyl flooring which had a blue motif on a cream background and I chose a mottled blue and black worktop to replace the yellow ones. Over time, the walls and cupboards were painted various colours, including pink and cornflower blue. I added pine strips to the cupboard doors to give them a bit of texture, replaced taps and cupboard handles all in an attempt to make the kitchen more me. I was given a load of wall cupboards, which I had installed and then painted to match the base cupboards. I have lost count of the different looks the kitchen has had. Nothing was quite right though. Then one day, we were driving past a vintage furniture shop locally and I caught sight of the most gorgeous dresser. It wasn't particularly old but I just fell in love with it. It was a beautifully carved and painted 'Gothic' pine dresser in a stone colour and distressed at the corners and edges. We bought it and it was the inspiration for the whole kitchen transformation.
 |
| Dresser Top |
 |
Dresser Base Cupboards and Drawers Which Inspired Me So.The Cupboards
Obviously, I coudn't start carving melamine copboard doors so I had to think of a way of transforming the plain doors into 'Gothic' ones. There were already pine strips around the edges and the .Gothic. embellishment would have to be applied within. I decided upon different thicknesses of MDF. It is easily available and could be cut into shape or drilled to get the effects I wanted. The first layer was the same thickness as the pine strips to blend seamlessly and the second layer was thinner. The quatrefoils were cut out using round cutters attached to my electric drill.

These are the cupboards below the sink area and have a space between the drawers and the cupboards which I filled with a strip of MDF with quatrefoil cut outs. I found some lovely antique brass handles I liked and made little back-plates for them. The paint is Edwardian Lemon Eggshell, which I distressed and 'dirtied' using woodstain and a rusty-red eggshell. I couldn't achieve the exact colour of the dresser, but close enough. Every pair of cupboards is a different size to the rest, so each gothic arch had to be made individually and would only fit one cupboard.
The very top of the dresser had some detail which I wanted to try to immitate on my top cupboards. They were originally just flat with nothing above the doors. Luckily, I cam across some packets of wood-coloured plastic coving being sold off cheaply in B&Q. I could use the coving to create a similar effect.
I couldn't re-produce the shapes at the top easily, so I used a strip of quatrefoil cut outs instead. 
I can't remember the exact order everything was done in. The whole project developed over several years and unfortunately, I didn't take 'before' or 'during' pictures to show you the progression. Everything has been changed from the floor to the worktops and eventually up to the ceiling, as shown on my first blog entry,
https://sarahmanchestersculpture.blogspot.com/2019/05/kitchen-ceiling-panels.html. The Colour SchemeAt some point, the blue leaded light windows were replaced, and at last I felt able to completely rid myself of everything blue. Green and Red are my favourite colours. My kitchen was going to be different shades of green. The colours chosen were authentic period colours, not all from the same period, but all complimentary to each other, by Craig and Rose. I took them all from their 1829 range and chose acrylic eggshell finish for everything, even the walls. Being in the kitchen, the walls need to be able to take a good scrub and lots of steam. Apart from anything else, eggshell really goes a long way, so a small tin covers as large an area as a large tin of emulsion. Being acrylic, the eggshell paint didn't have a strong odour, unlike the paint used on the cupboard doors which was oil-based. The walls were painted in Eau de Nil, a lovely, pale green used in the Art Deco period in bathrooms and kitchens. The wall behind the dresser was chosen as a feature wall and I painted this and the tiled areas behind the sink and cooker in a slightly deeper Tapestry Green. It was a very popular colour in Victorian houses and was a green found in 19th Century tapestries. Finally, all the woodwork was painted Deep Adam Green, a Georgian colour often found in buildings designed by the Adam Brothers. Oh yes, when I came to put a Gothic border around the top of the walls, I used a very dark Winchester Green, so named as it is found in the tapestries hanging in Winchester Cathedral. Skirtings were all painted in black masonry paint, which has a soft satin finish and most of them are concrete anyway.The Doors
Each of the three doors is different from the others. As far as I can tell, none are the original house doors. The first one I tackled was a replacement fire-door made of hardboard both sides and hollow. No detail whatsoever upon it. Just flat and smooth, utterly boring. MDF to the rescue! I used wide strips to create panels and Gothicised the whole thing. I even found a gorgeous Gothic door pull supposedly from a church building or chapel, in brass and copper, two of my favourite metals and found all over the house. From plain, flat, white-glossed door to this;
  The second door was a pretty boring glazed door which would have led to the outside, before a lean-to was added. Some years previously, I had found three stained glass roundels, removed from a church and bought them with a view to finding a use for them one day. They had been languishing in the loft for several years, almost forgotten. They were perfect for turning the side door into something more interesting. After Gothicising the top of the glazed door with thick MDF, I glued the roundels down the centre of the glass. The light shines through them and shows the beautiful colours, all of which are used elsewhere in the room. They have two shades of red, two of amber, and three shades of green in them. Nothing could be more perfect. The glass in the door was not opaque enough and showed too much of what was behind it in the lean-to for my liking, so I bought a product which 'frosts' glass and sponged it on the outer side of the glass. It worked very well.
I found another very old door pull, larger than the first and appropriate for an outer door, equally Gothic in old brass.
 |
Even the catflap on the third door got the Gothic treatment


At a later date, I came across this old print and really wanted it in the kitchen but had run out of wall space. The door to the Hall seemed the obvious choice.
The Feature Wall
I had enormous fun painting the feature wall either side of the Gothic dresser. I must confess, I did not bother to paint the design behind it. There was no point. The dresser cannot go anywhere else in the room and the wall cannot be seen behind it. I designed the mural to start at the edges of the dresser and the corners of the walls and work inwards from those edges to meet in the middle. The whole wall, including behind the dresser was painted in Tapestry Green Acrylic Eggshell. The design was painted using Artist's acrylics. I used the colours straight from the tubes, no mixing involved. I started with a feature border which stretches across the whole width of the wall. The design was taken from one of my favourite books, Pugin's Gothic Ornament, the classic Sourcebook of Decorative Motifs by Augustus Charles Pugin in the Dover Press Pictorial Archive Series, as were all the motifs for the feature wall. The design was photocopied and enlarged and transferred to the wall using carbon copy paper.


The rest of the wall was hand-drawn using pencil onto the wall with the following small motif as inspiration. Additional creatures were incorporated into the design. I loved this process and just went with the flow. If I made a mistake, or didn't like something, the pencil was easily erased and the design remedied. This didn't happen much, happily.

I used this picture to start the design next to the dresser on the right as I was looking at it. The original drawing in the book is only 4" long. Rather a small sample to inspire a whole wall.
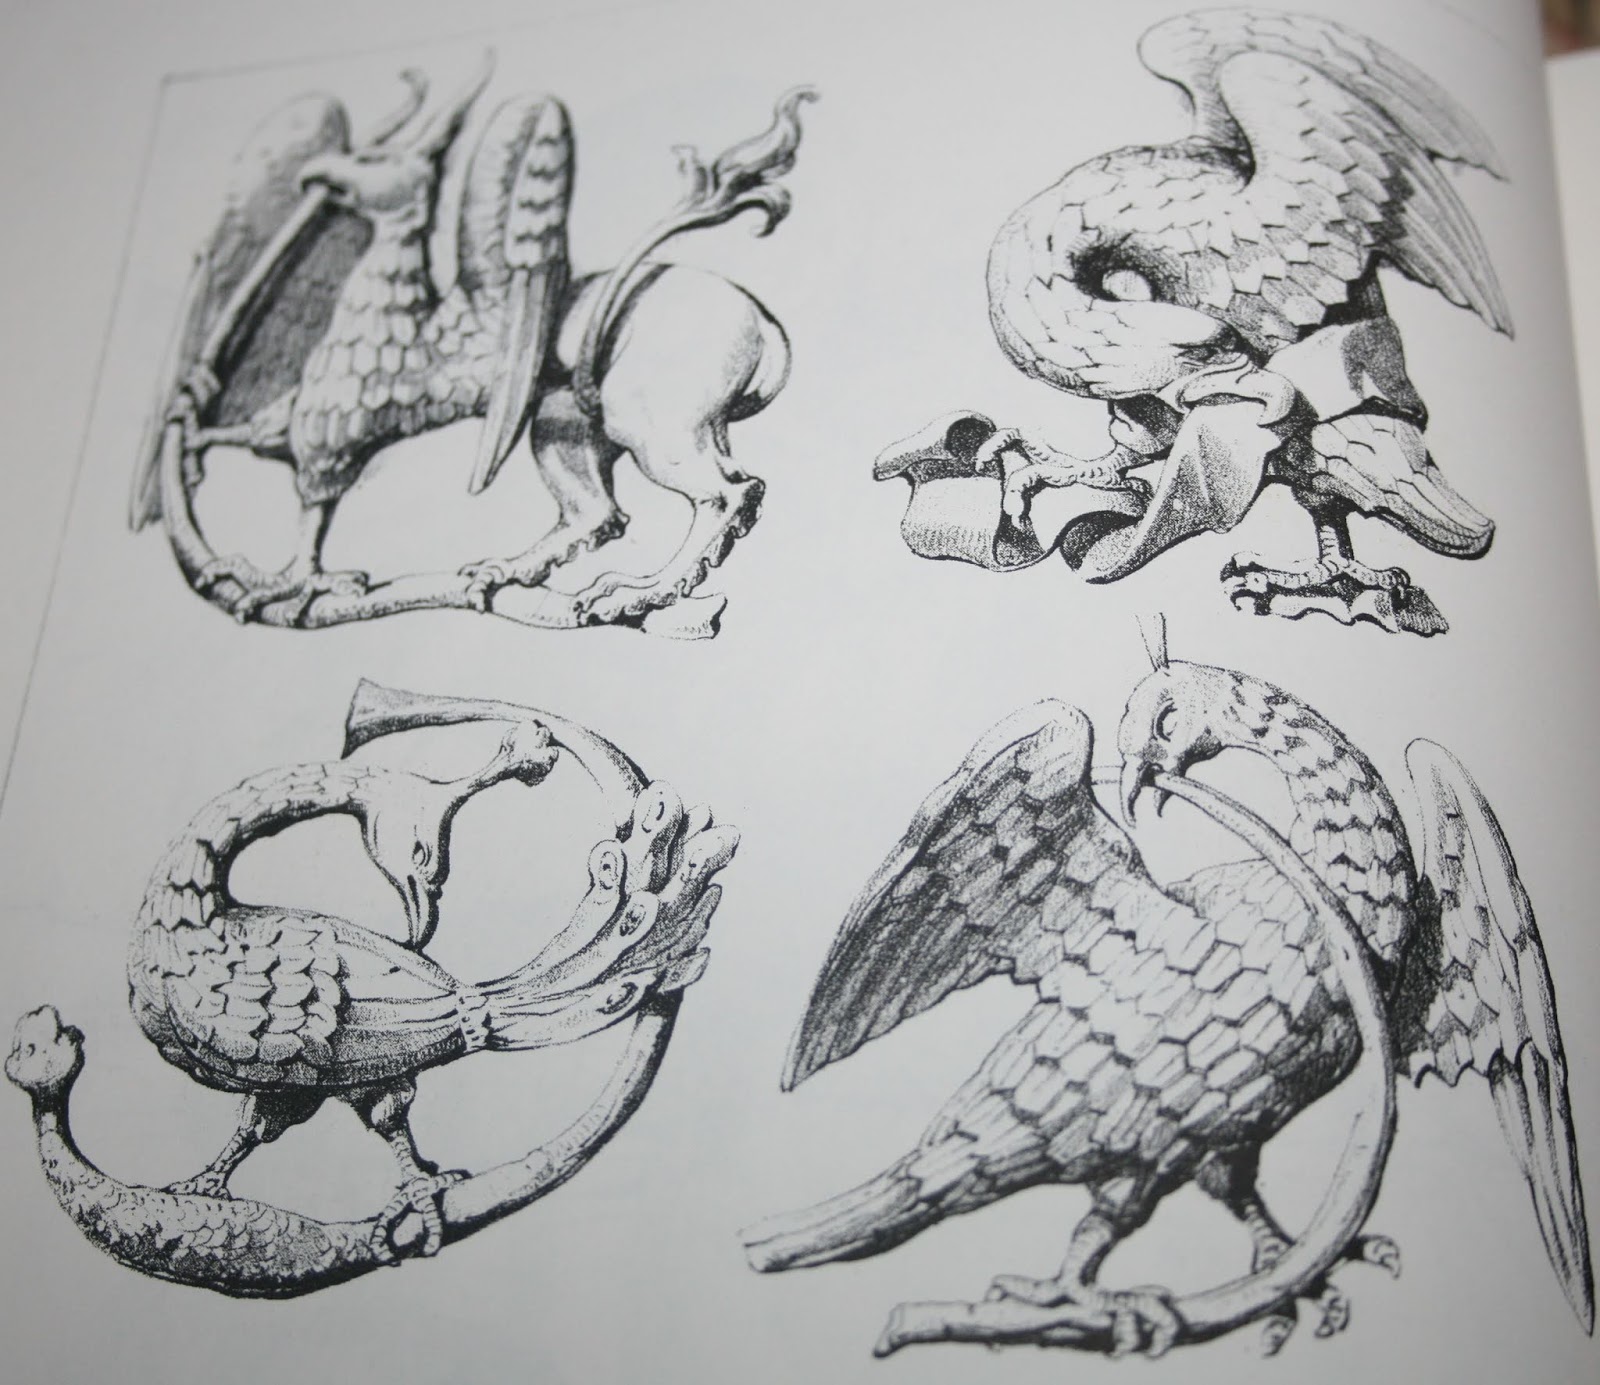
These are the additional creatures incorporated into the design. To finish, I painted flying insects into the spaces, each one individual and more fantasy than real.


This shows a detail of the wall on the left side of the dresser. It is a much narrower strip and at a later date, the self-portrait sculpture was added. A few insects have escaped from the feature wall onto adjacent walls. Just one or two. I like to get Luncheon guests to paint their own insect on a spot they choose, using black acrylic which I later fill-in with green. In this way it is a living thing and forever in progress.
The Pugin Tiled Backsplash
The tiles behind the cooker and sink areas had been painted over before we came to the house. It was a very hard-wearing scrubable surface with a slightly speckled finish. Goodness know what the paint used was but the whole kitchen was painted with it and it remains underneath the various layers I have added over the years. I'm not particularly a fan of modern tiles. I did toy with the idea of replacing the painted tiles with dark green ones but they would still be too plain. I love Victorian tiles with their wonderful patterns. I decided to leave the painted tiles in-situ and paint a design over them. I found a design I liked, copied it and transferred it to the wall with carbon paper then painted it freehand using an acrylic-based metal and wood paint which is very hard-wearing and can be cleaned thoroughly without wearing off. The red flowers were painted using acrylic stamp paint which can be used outside and is more durable than Artist's acrylic, I think.
 |
| Tiled Area Behind My Kitchen Range |
The tile surrounds were made in plaster by a local company using original moulds. They feature Puginesque leaves and grapes, which I love. When I came to decorate the sink area, I decided to make a sculptured panel rather than just paint the tiles and I wanted to use the same border. I only had one strip of plaster moulding left so I made a mould using latex rubber and a plaster mother-mould and cast the extra pieces I needed.
The Dolphin Frieze
The design for the frieze was put together from pictures of old wood-carvings. I modelled it in clay on a long piece of board. I used my by now favourite method of mould-making of latex rubber and plaster mother-mould and cast it using Ciment Fondu. Fondu is very hard when cured and can be cast in very thin layers making large sculptures hollow and very light comparatively. As the frieze is fairly shallow, I cast it solid. Usually Fondu is cast straight into a plaster waste-mould but the frieze has some very delicate areas and chipping off the plaster might have caused a lot of damage. As it happened, there was only one break across a very narrow part. However, to attach it to the wall, I had to break it into three parts. I hadn't thought about how I was going to attach it to the tiles. In retrospect, I should have made it with a backing and stuck the whole thing up in one, solid piece. This would have been a little problematic in itself as I had very little depth to work with and even less with a backing. I attached it using tile cement and painted it using the same metal and wood paint as on the splashback. Now, sadly discontinued. Such a pity as it was fabulous paint and very hard-wearing.
 |
| Clay Original Dolphin Frieze |
 |
| Frieze Detail Left |
 |
| Frieze Detail Centre |
 |
Frieze Detail Right |
Above each of the cupboards, on the wall, near the ceiling, I have placed a Green Man Plaque. I bought six originally but needed nine so I made three of my own and painted them to match the others. These were modelled in clay, moulded and then cast in plaster.


As for the rest, I installed dark green and black marbled worktops, dark green slate effect vinyl floor tiles. I found two antique brass chandeliers to replace the plain bulbs either end of the kitchen. Two more large Gothic pieces of furniture were squeezed in. One a sideboard, the other a cupboard. Both in limed Oak, which I waxed over in Tudor Oak. Original works of art and Victorian Pre-Rapaelite prints cover a wall adjacent to the feature wall. Finally I worked for two years on the ceiling. I love it. It is unique. I think I have finished now. In case you haven't seen the ceiling tile post. Here a a few pictures to be going on with.


